Southern Railway RS-2 #2105
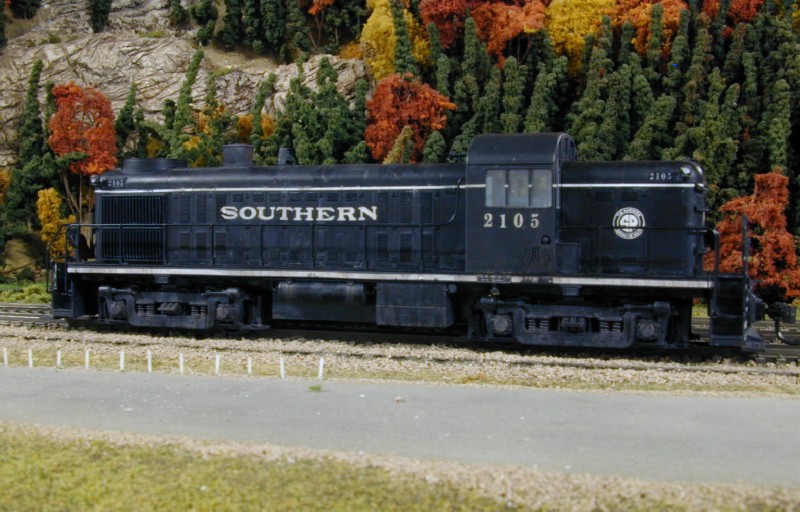
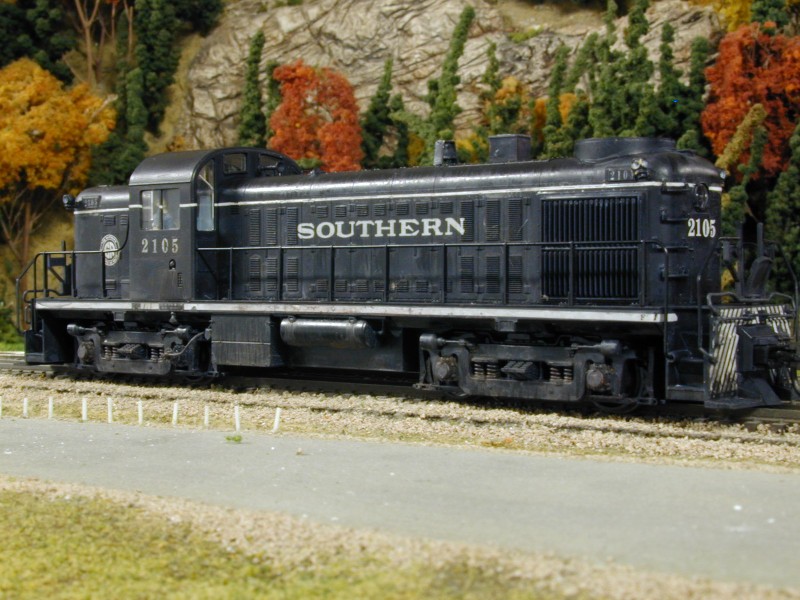
Here are a couple photos of my HO scale RS-2 based on Southern Railway's #2105 in the early black freight scheme (circa mid to late 1940s). Don't make fun of the fact that we didn't have an HO scale module set up — I placed this HO locomotive on the Connecticut Valley Model Railroaders Club's N scale module (based on Crawford Notch, NH!). It was the only spot I had to photograph my model that day. Surprisingly, if you ignore the fact that the rail gauge is a bit slim, this setting isn't that bad! I've got to build that display diorama soon!
Click on a thumbnail to see the 800×600 image.
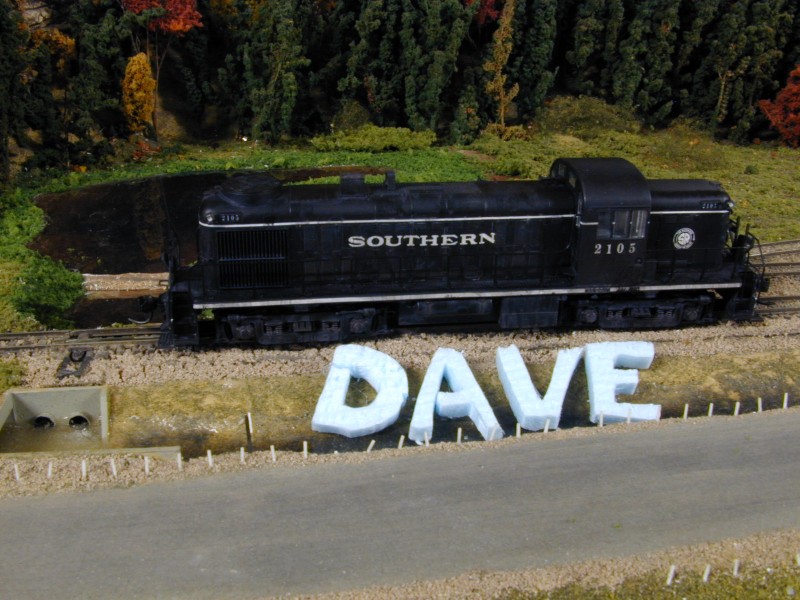
In the photo on the right, a Club member was playing with our battery powered hot wire foam cutter while bored…so I added my name to the image.
Model Details
Except for the paint and decals this is almost a stock Kato RS-2 in HO scale. I added the correct bell, the ground light (shines on the ground just below the cab and lets the crew know the locomotive is moving and not slipping), the speed recorder, the marker lights, the engineer, and Kadee couplers.
For the decals to reproduce the old black freight scheme, I used the Walthers road name, a 3rd Rail Graphics logo designed by Jim King for the SMMW Southern Wood Cab kit, a Microscale top 2” stripe, builders plate, and “F” for front. The sill stripe, the pilot stripes, and all the numbers were developed by me using CorelDraw 7 and an ALPS printer. Why bother with the pilot stripe when Microscale has pilot stripes? I found the Microscale pilot stripe I had included wider stripes than the old Southern scheme. Since it is 45 miles or so to the nearest good hobby shop and I couldn't guarantee Microscale made the thinner stripes, I found it easier and quicker to design and print my own! The sill stripe is also not 2” and not 4” but from the photo in the Withers' Diesels of the Southern Railway book and some other photos the stripe appeared to not cover the whole side sill, which the larger Microscale stripe would do. So I used calipers to measure the stripe width, set that size in CorelDraw, and printed a whole page of reasonably correct stripes! It's fun to have the right tools.
As for the weathering job — it ain't the best I've seen. I've described the “fun” I had weathering this model on the Southeastern Model Railroaders Forum (SMRF). If you want, search the SMRF archives here to find my story.
Hope you enjoy the photos!